Toying with Bright ideas: a light diffuser on a budget
But sometimes to achieve those results, it can become pretty costly. Accessories for lights and lights themselves can be an expensive investment. So today, I wanted to show you a very cost-effective way to create a diffuser for your light.
Whats a diffuser?
So before we get into that, what is a diffuser? A flash/light diffuser spreads the light source, giving a much larger light surface. In effect, the light will not come from one concentrated source (like a spotlight) but instead will spread out, bounce from reflective surfaces and objects, thus getting rid of harsh light, and hard shadows. So basically, you are making the surface of light more significant.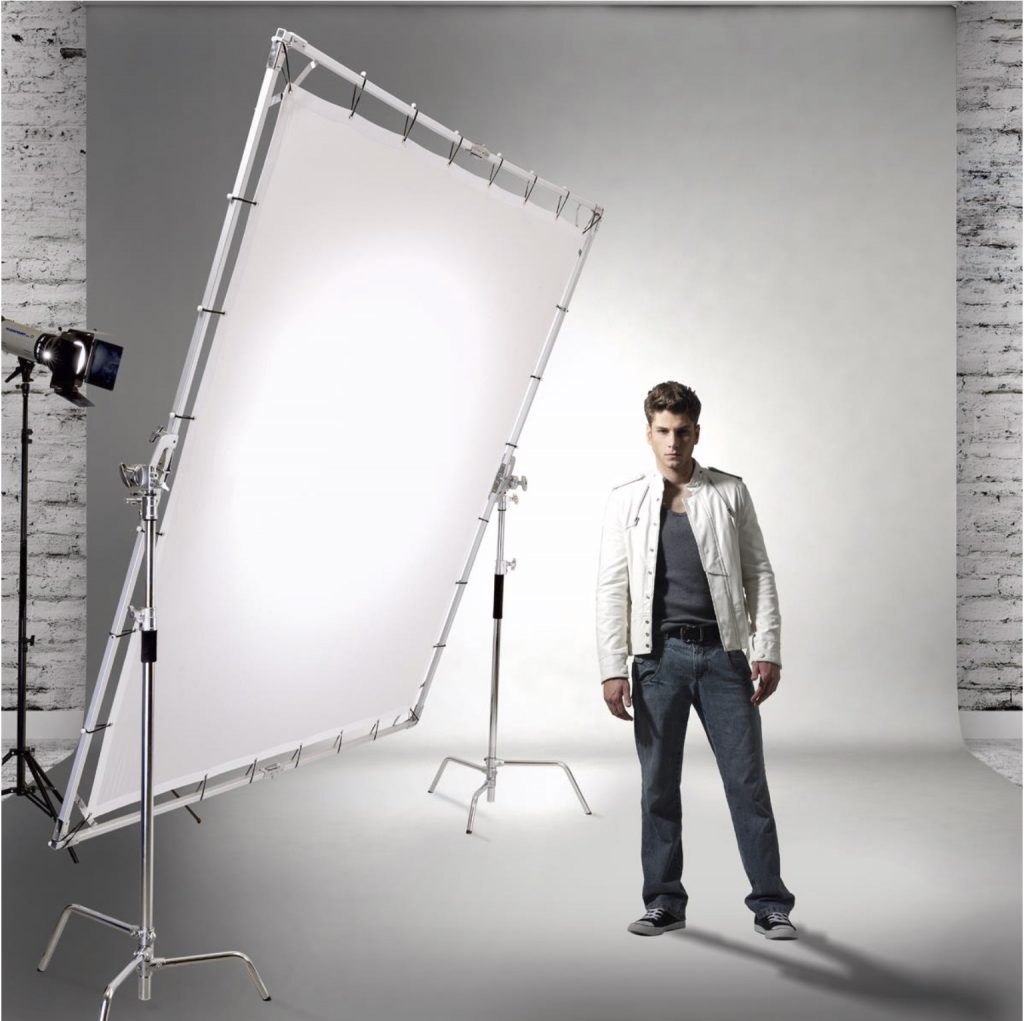
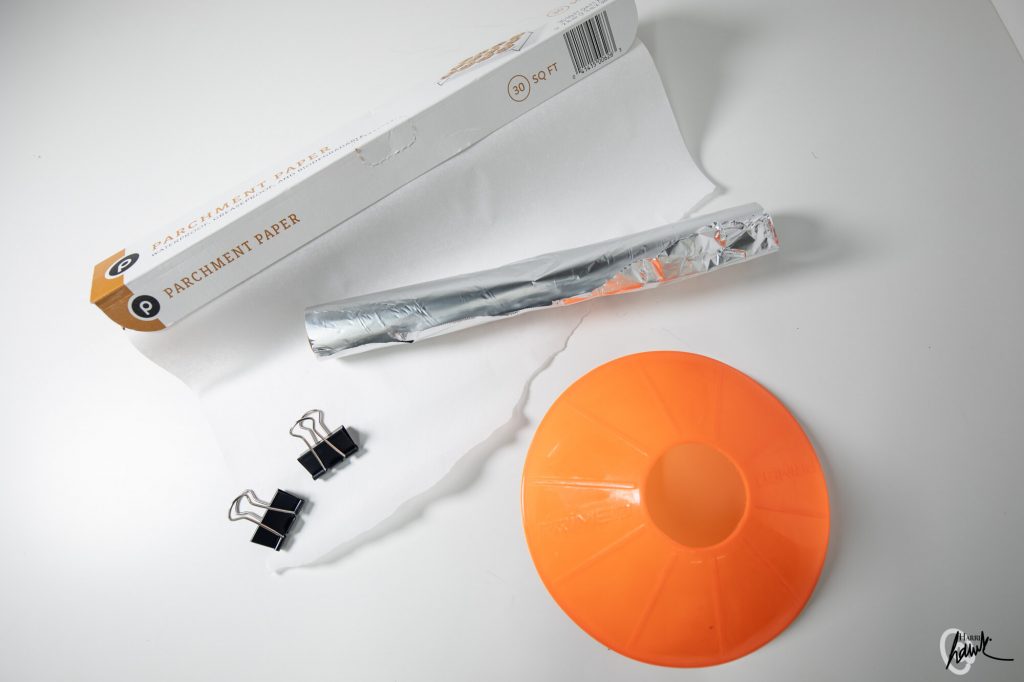
What you'll need
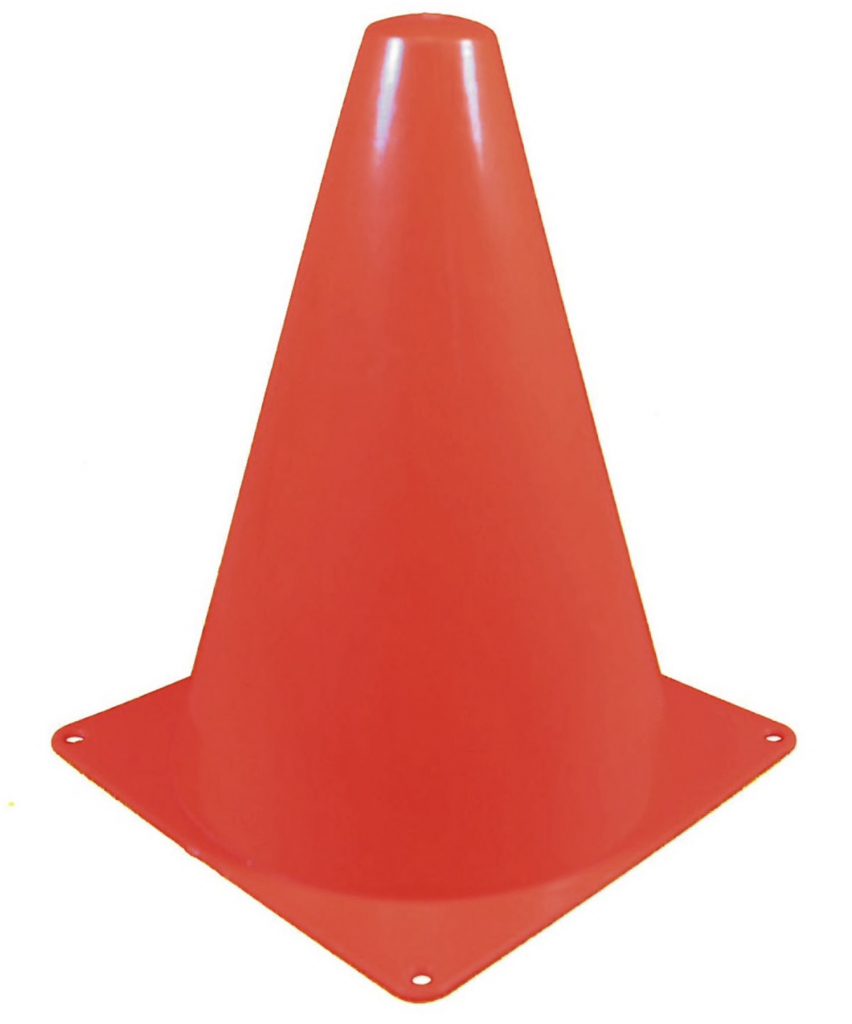
A soccer coneAluminum foil
Kitchen parchment paper (or grease paper)
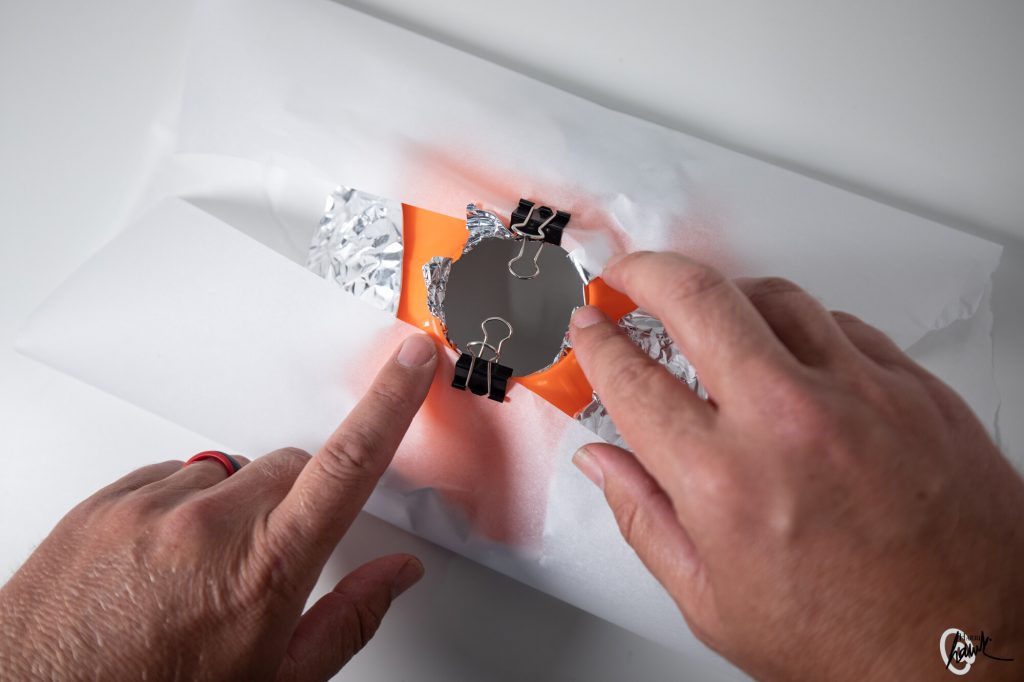
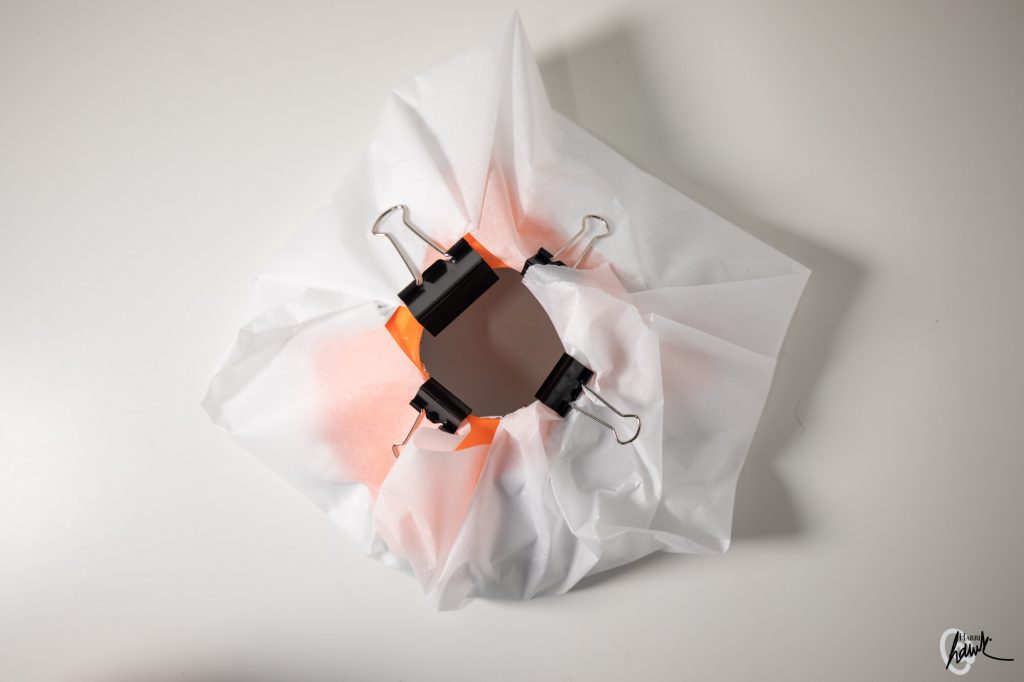
Clipboard clips ( you can also use adhesive tape)
Now to make the soft box/diffuser
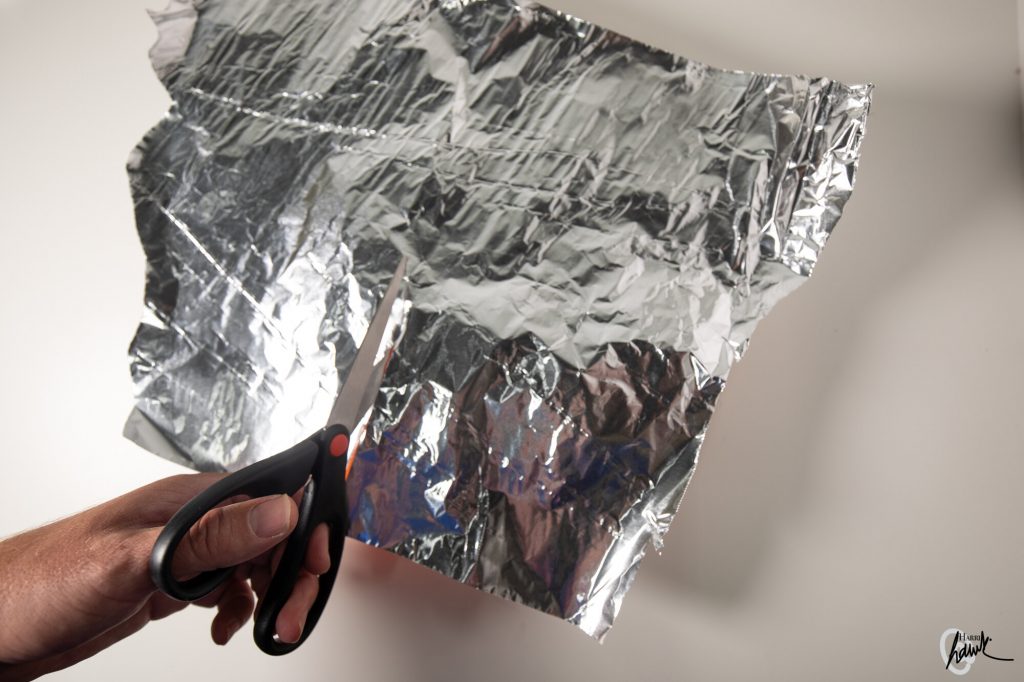
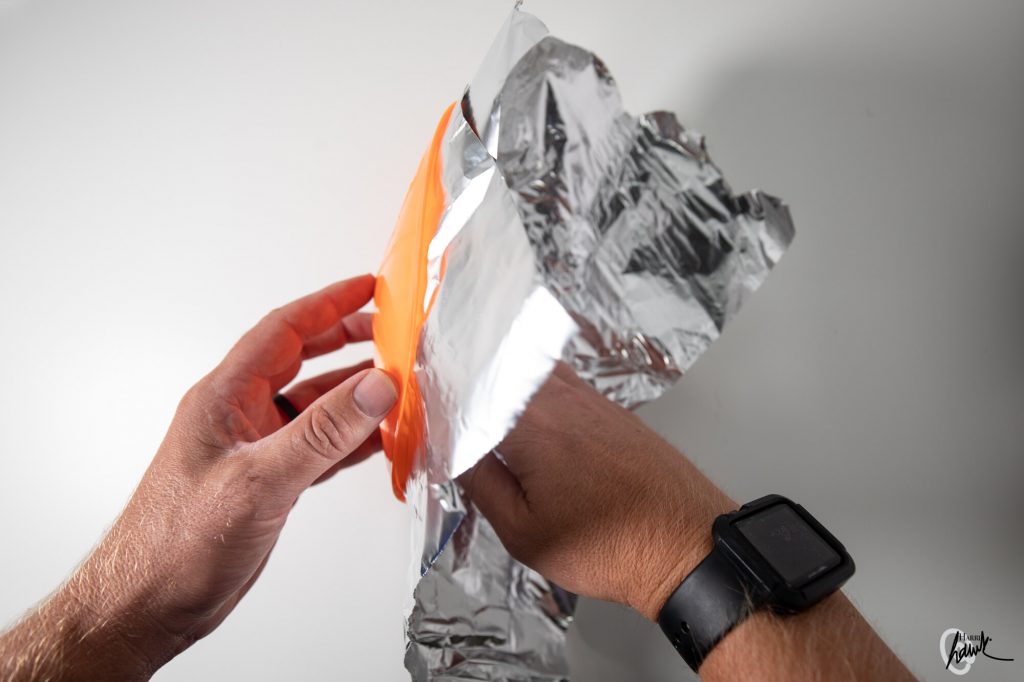
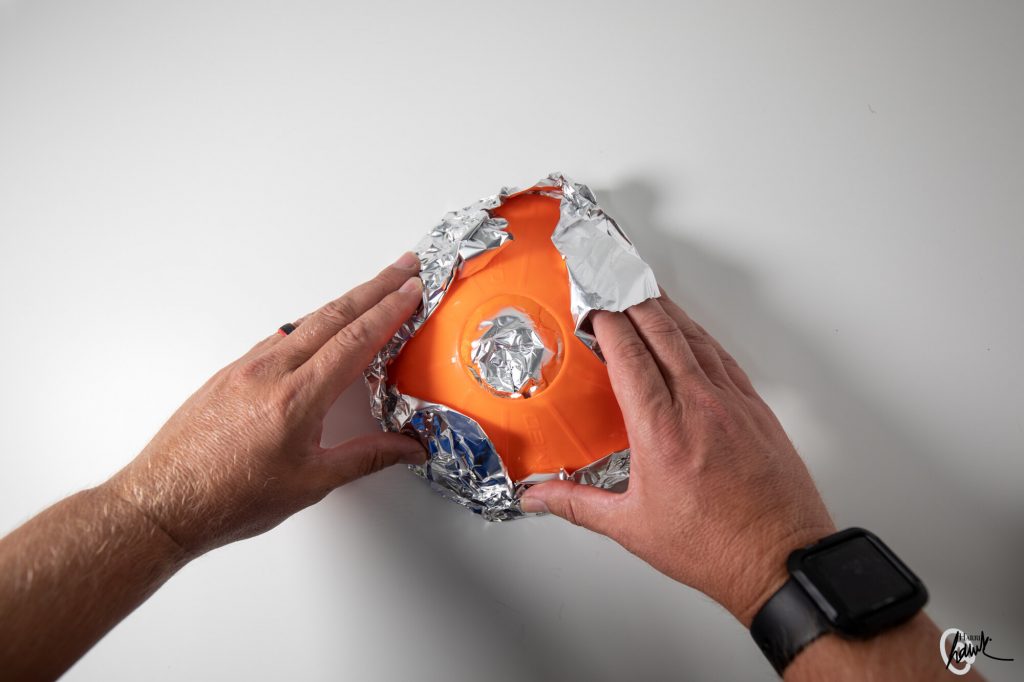
Step 1: Cut out a reasonable size of foil, enough so you can fold it around the cone edge. The reason we are adding foil is to give the inside of the cone a reflective surface, making light bounce off it and fill the funnel with brightness. Make sure to keep the shiny side of the foil facing outwards.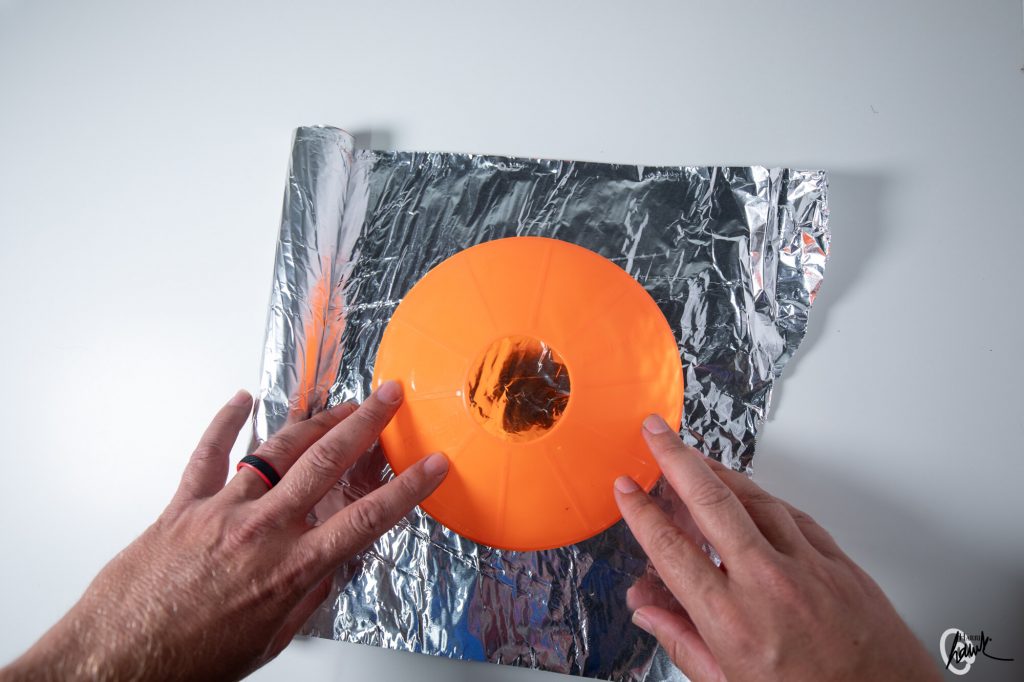
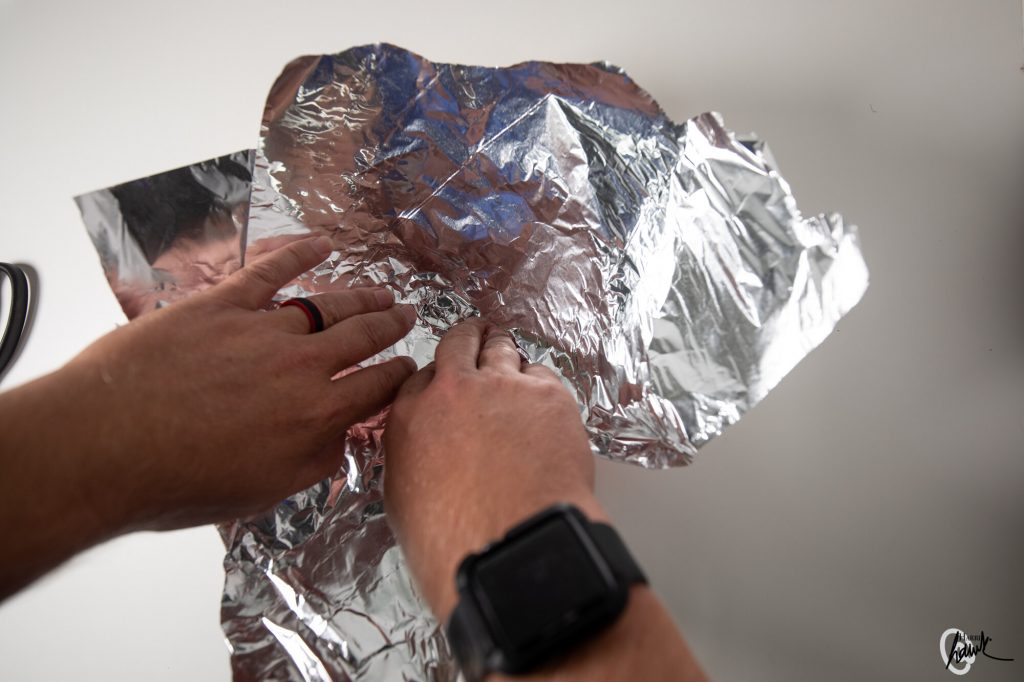
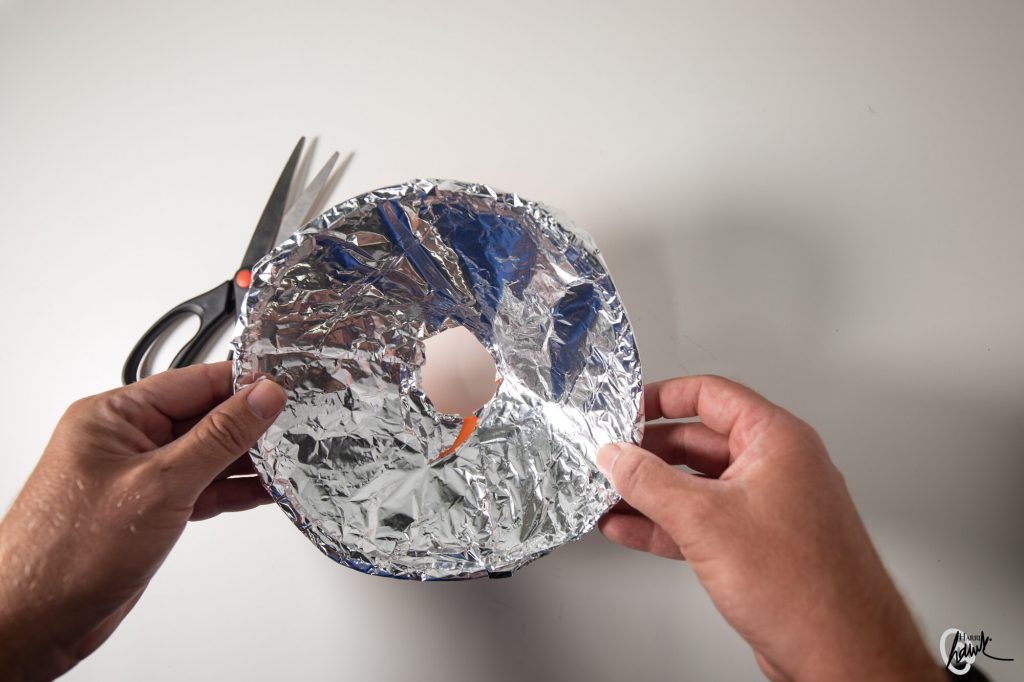
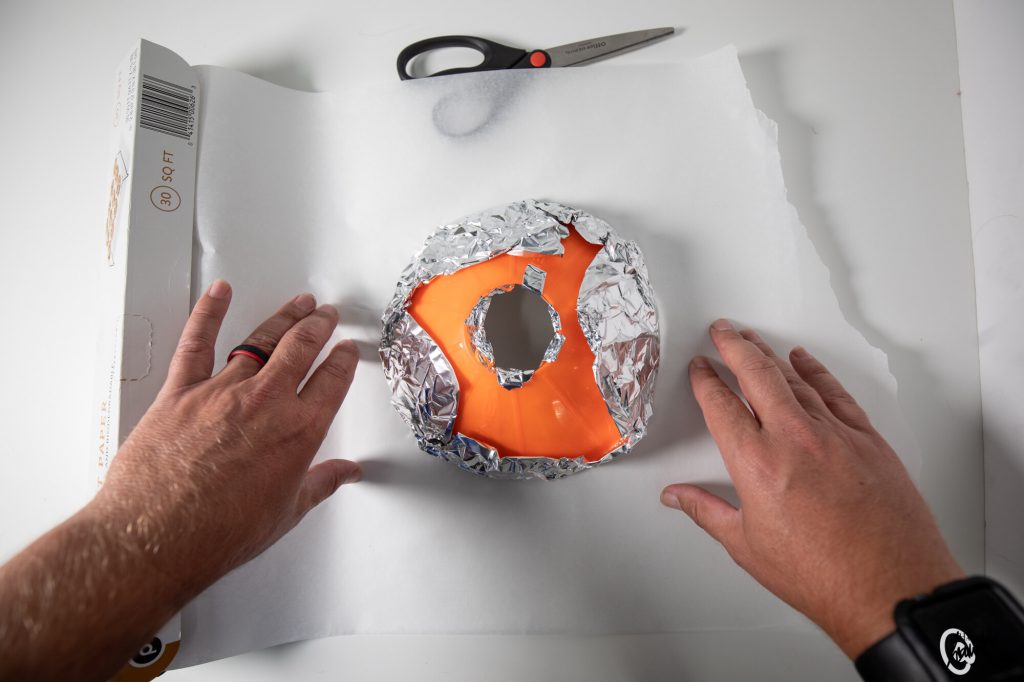
You can use different shaped cones.
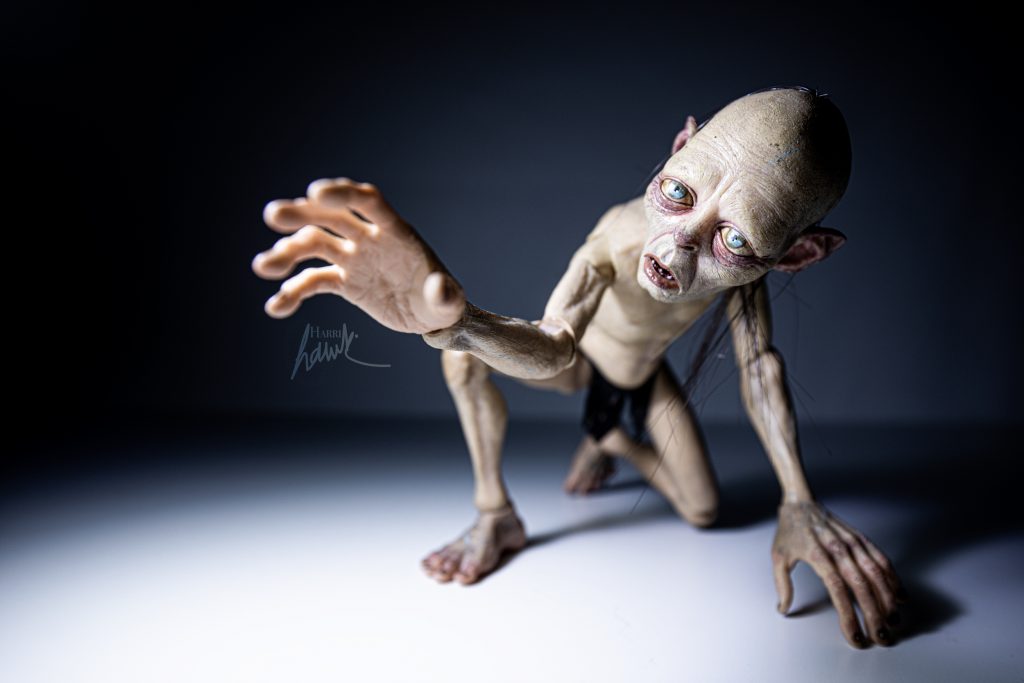
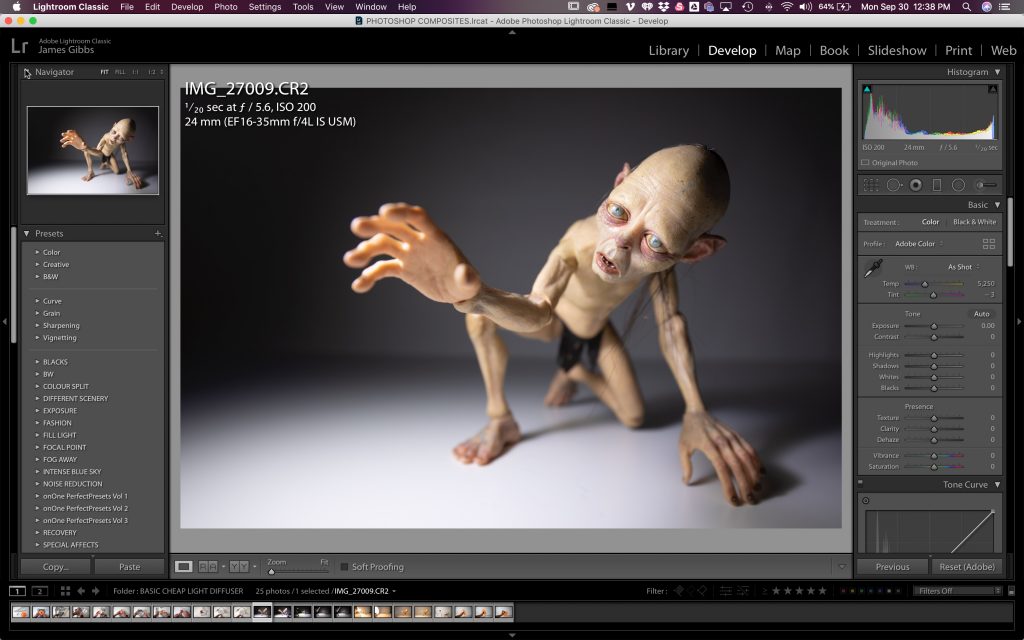
Some test shots... First, the Lume Cube
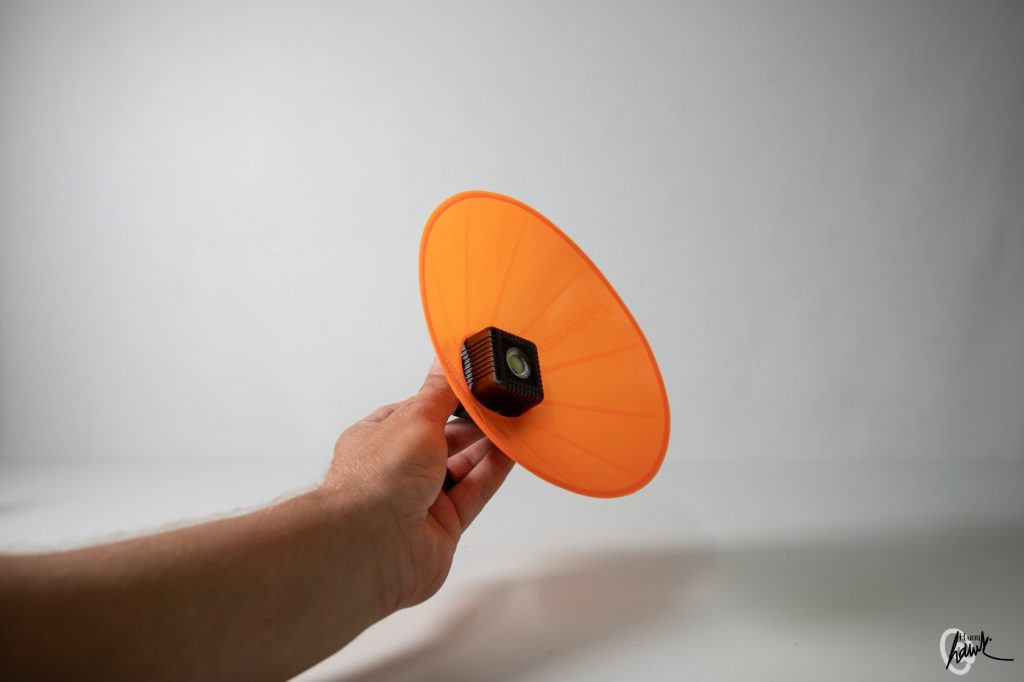
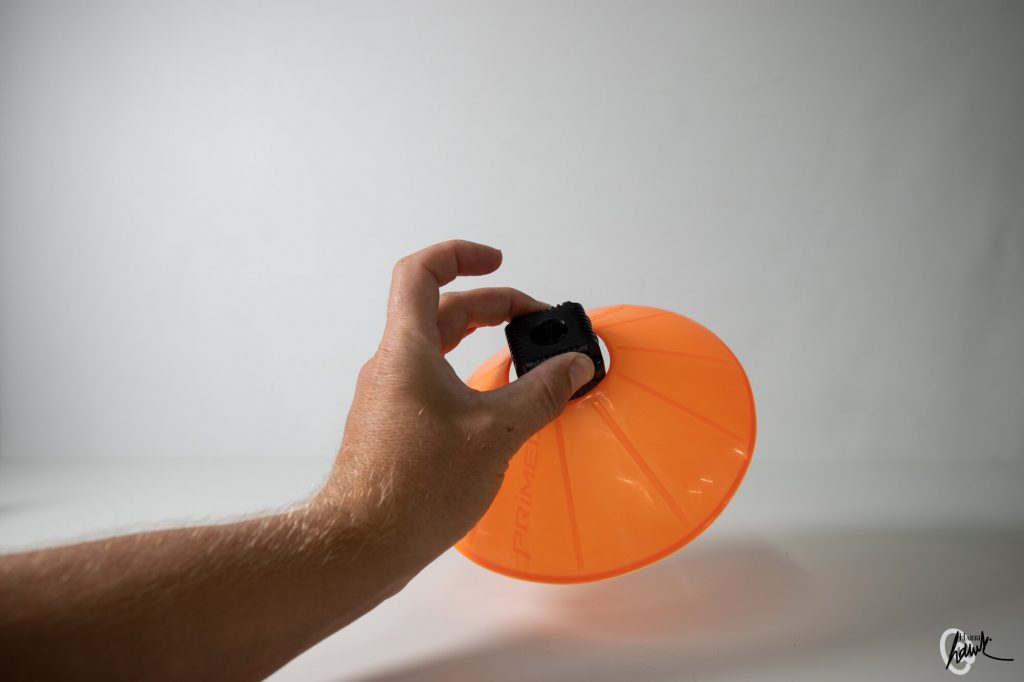
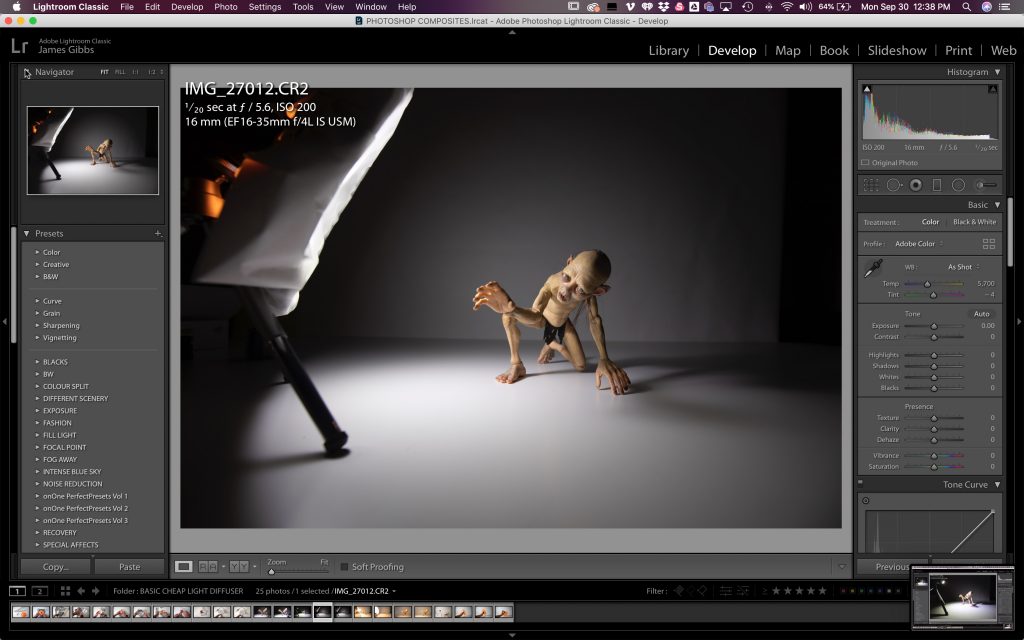
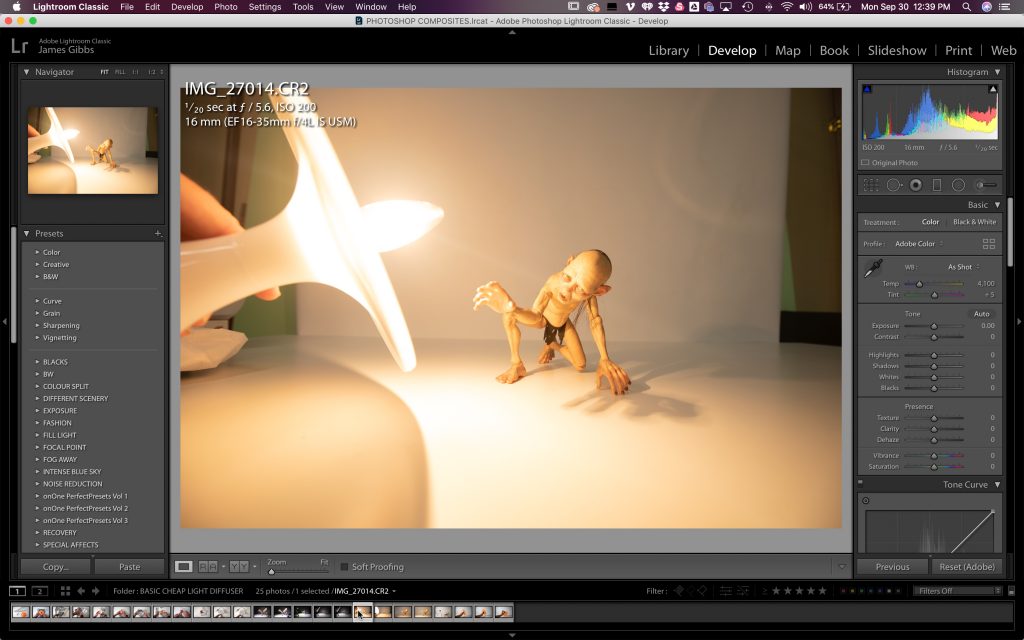
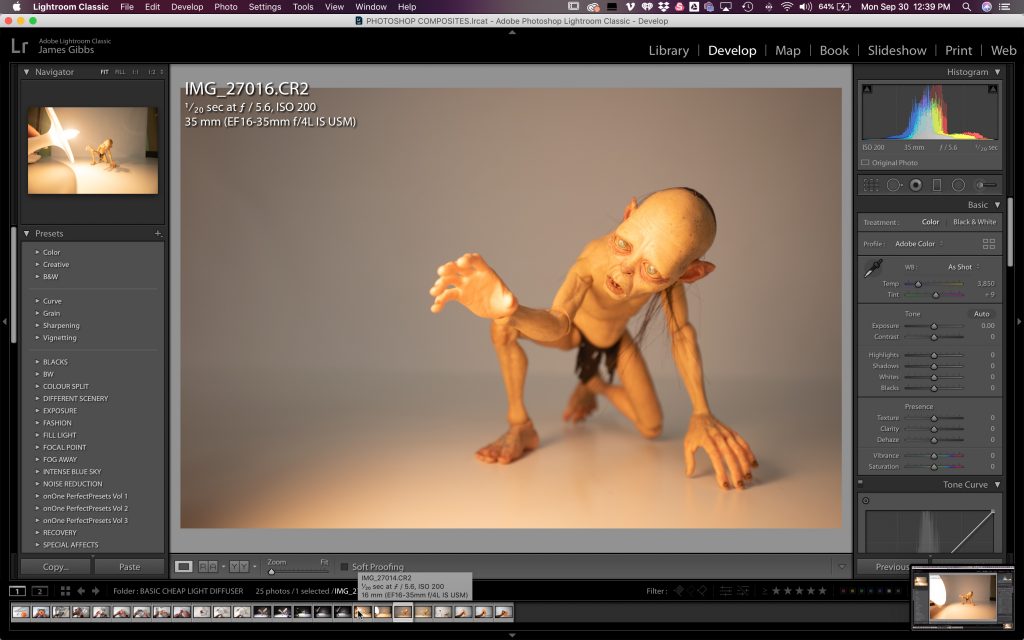
So let me show you some shots with the diffuser in action.I am a massive fan of the Lumecube lights. I use them almost all the time for my toy photography. The brilliant thing about putting the Lumecube and cone together is that they fit pretty perfectly. No need to tape it in or anything, so Lumecube, if you reading this, you mind want to take not of my hack:)
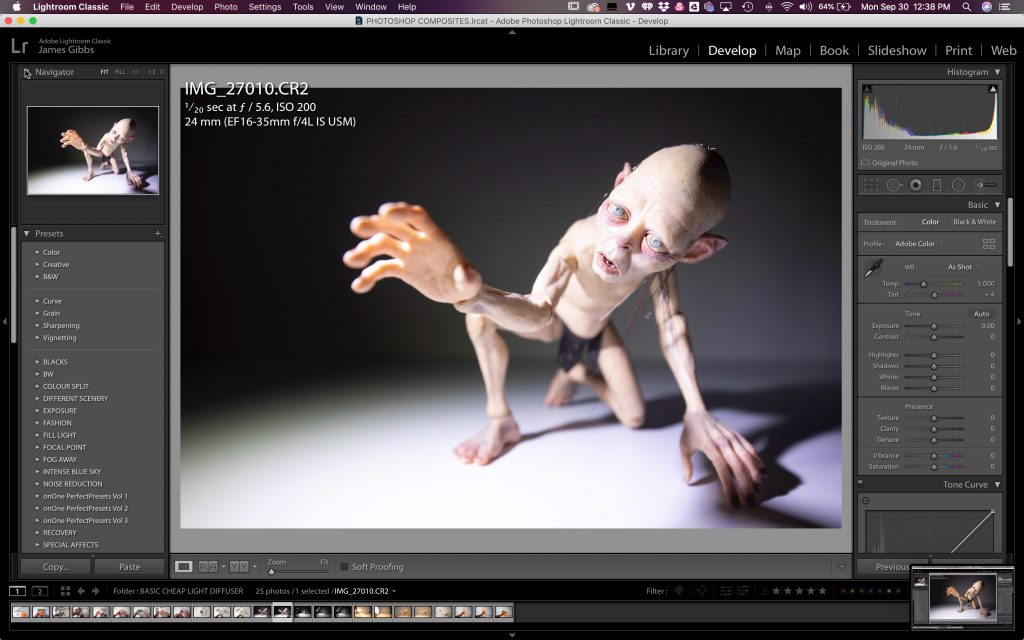
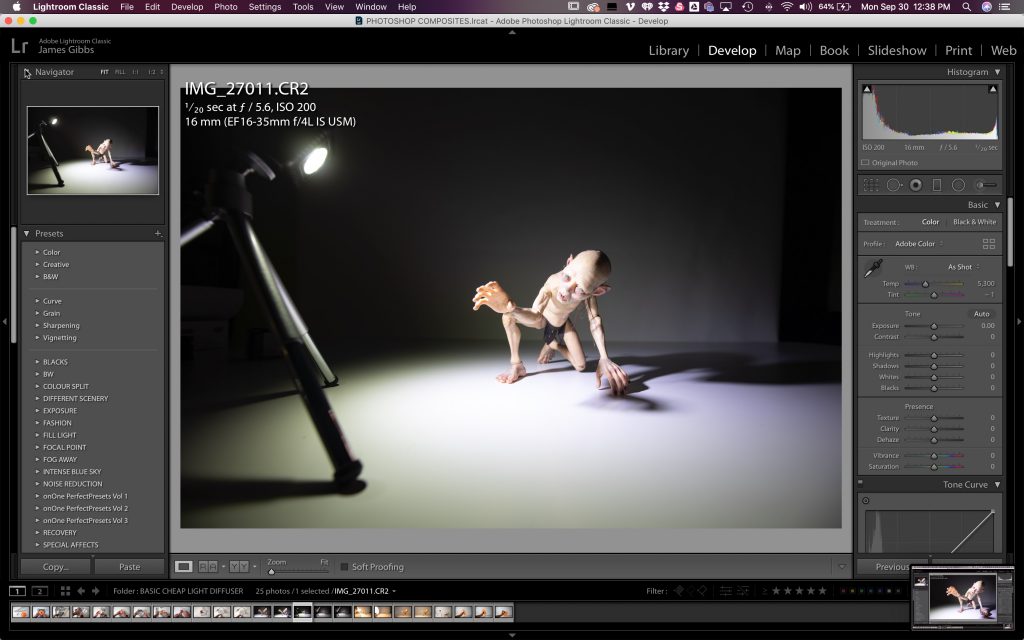
Let's add the cone now. Again, I haven't changed the power output of the light or the camera settings. The light seems a lot broader and softer with more of a gradual distinction between the bright and dark areas. If you look at the cast shadows in this picture, they are gentler and not as direct and abrasive.
Diffuser on the Lume Cube
Any lamp or bulb can work
But not everyone has Lume cubes. thankfully this diffuser has a large enough hole you put just about any bulb through it. In this example, I have used a side lamp.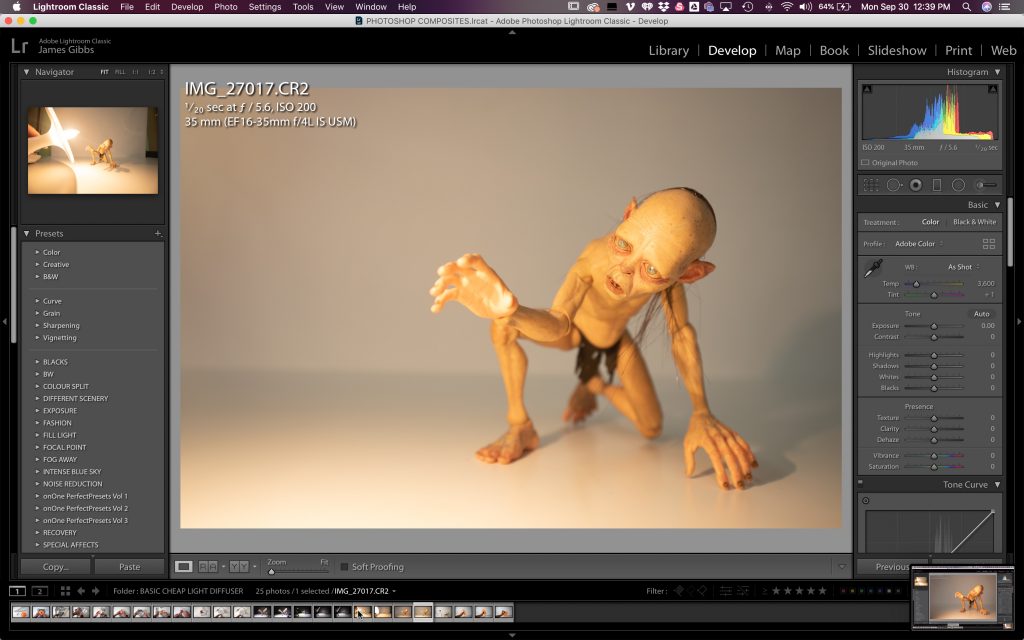

Till next time, keep snapping!
Gibbo


Comments
Post a Comment