Toying with bright ideas: Layered light

In today's post, I want to show you a technique that I use a lot for my toy photography. I call it the layered light method and was introduced to it by Justin @justineastmanmedia, a very talented digital artist and toy photographer.
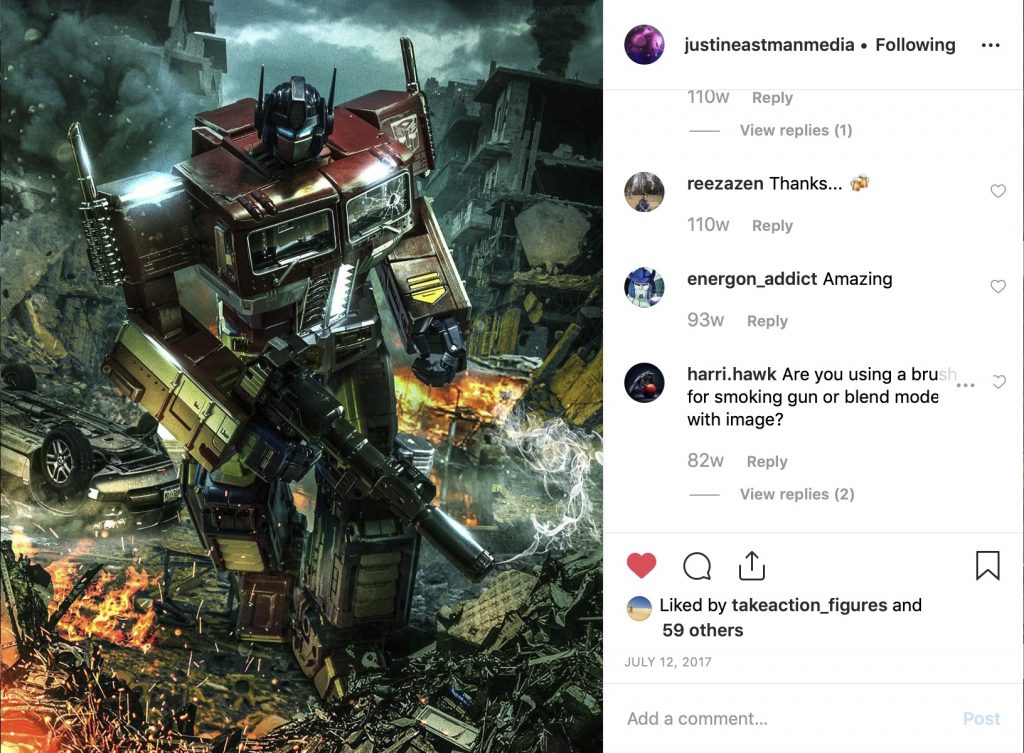
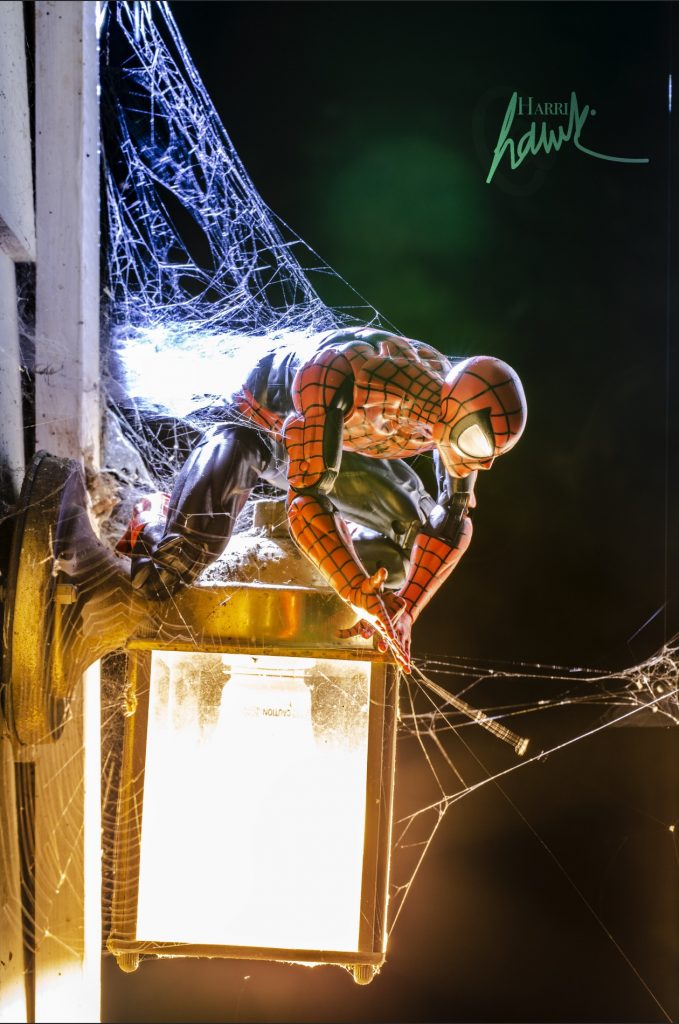
I've used it for several photos that I have taken.
The neat thing about this technique is that you only need to have one light and don't need to have a whole light setup. However, you do need to have post-processing software that allows you to stack and manipulate layers, which a lot of toy photographers use anyway. In this post, I'll be using photoshop. For those of you who do their editing on the smartphone or tablet, try Photofox. It's a photo editing app that has layer capabilities, so you can add layer upon layer and edit them individually.

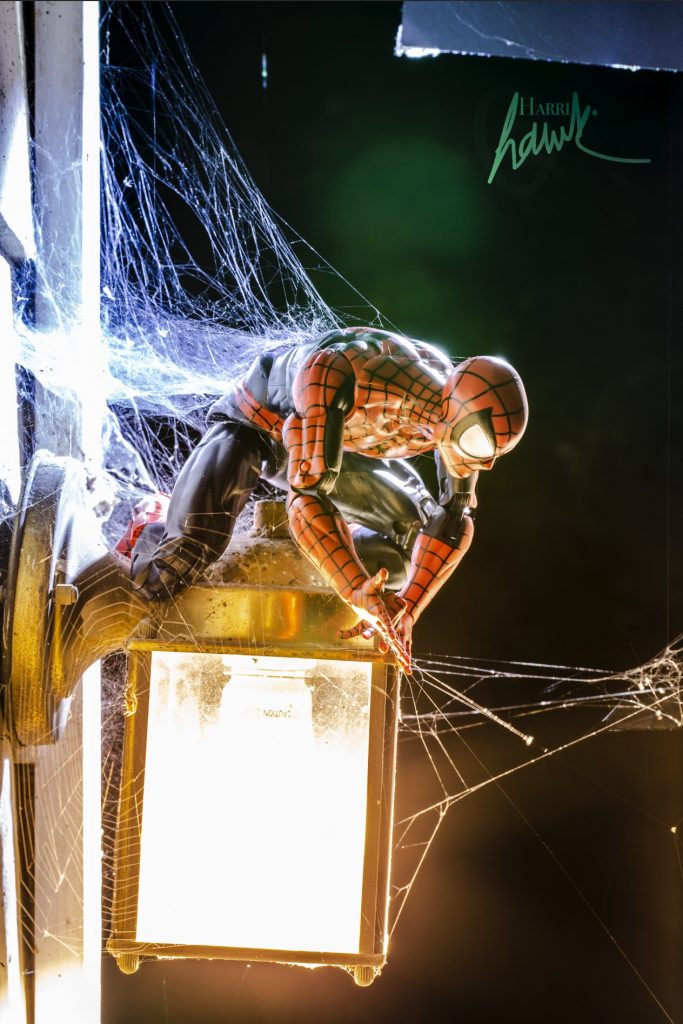

So what is the layered light method? Basically, it allows you to take a series of locked-off photos of a subject or scene, and in each photo, you place the light source in a different position to highlight various areas of that picture.
Equipment
A tripod is a MUST for this method and preferably a trigger although it's not a necessity. (I always use a trigger. This is to avoid there being a slight camera shake or miss alignment when pressing the shutter button on your camera. You want your pictures to align perfectly).
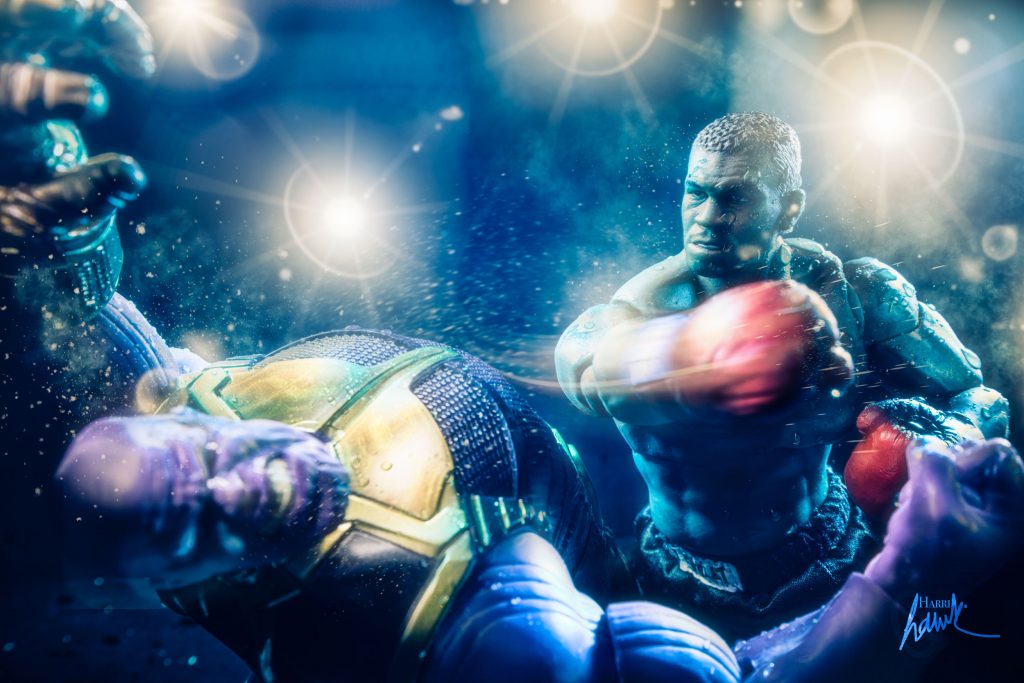
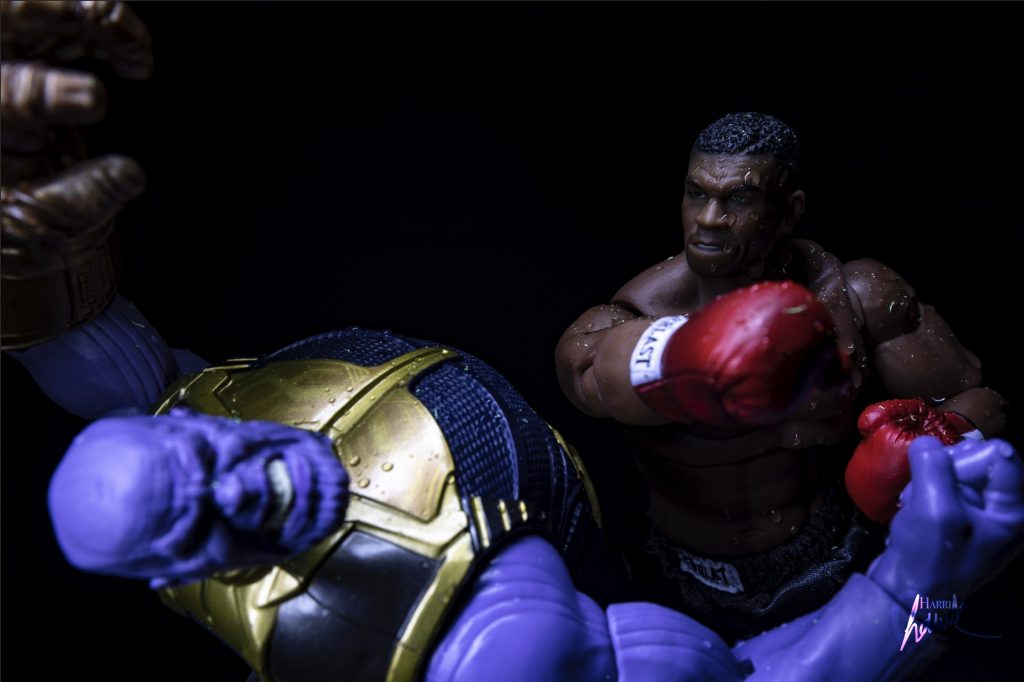
I'm going to walk you through my "clash of the TYSON" picture I took. It shows who, I think should have taken down Thanos. Iron Mike.
Method
I set up the scene using wire to hold Thanos in that backward position and placed Mike with his fist extended. Now the only light I used here was a Lumcube.
The first shot I took had the light positioned top left of the frame and slightly behind the figures to give a definite highlight on Mike's face and arm. It also gave some light on Thanos's face.
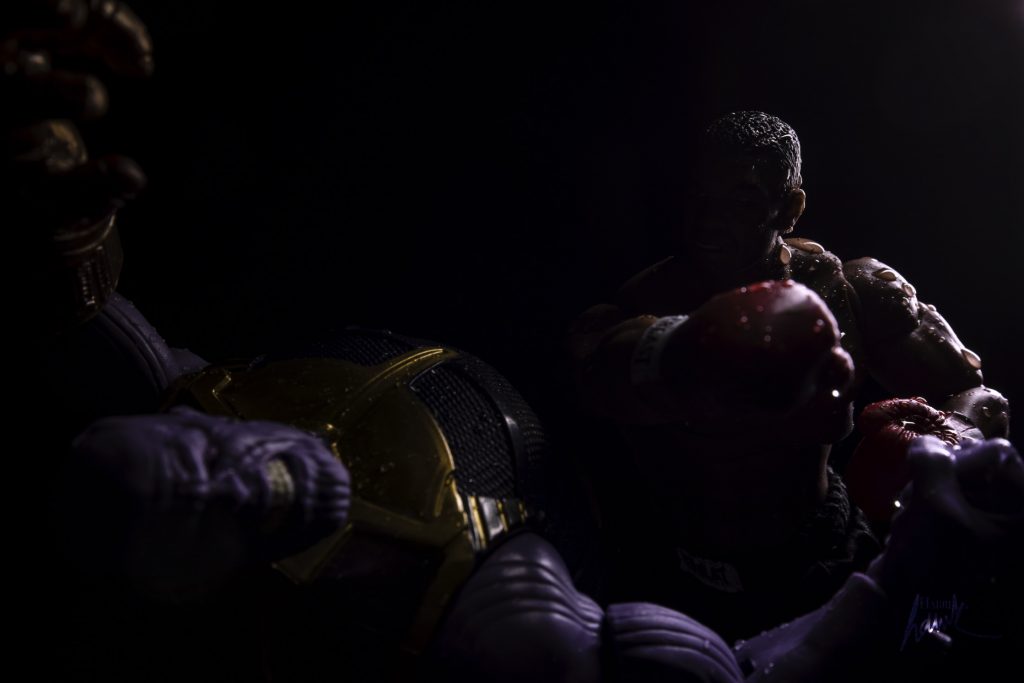
The second shot, the light was lower down to the left, and closer to the camera. This gave even light across the scene.
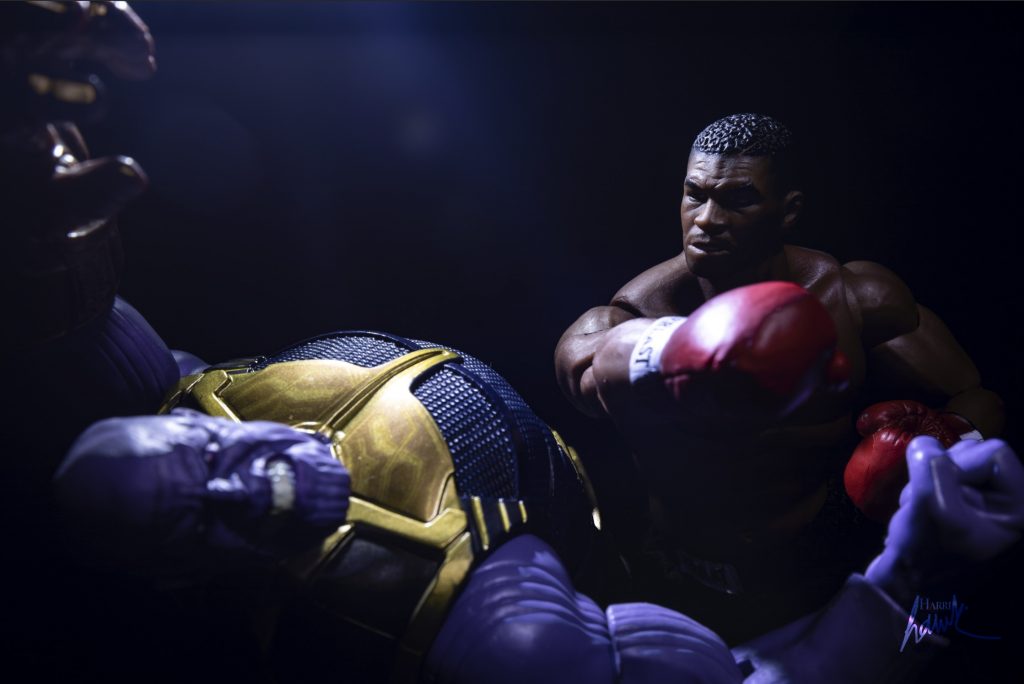
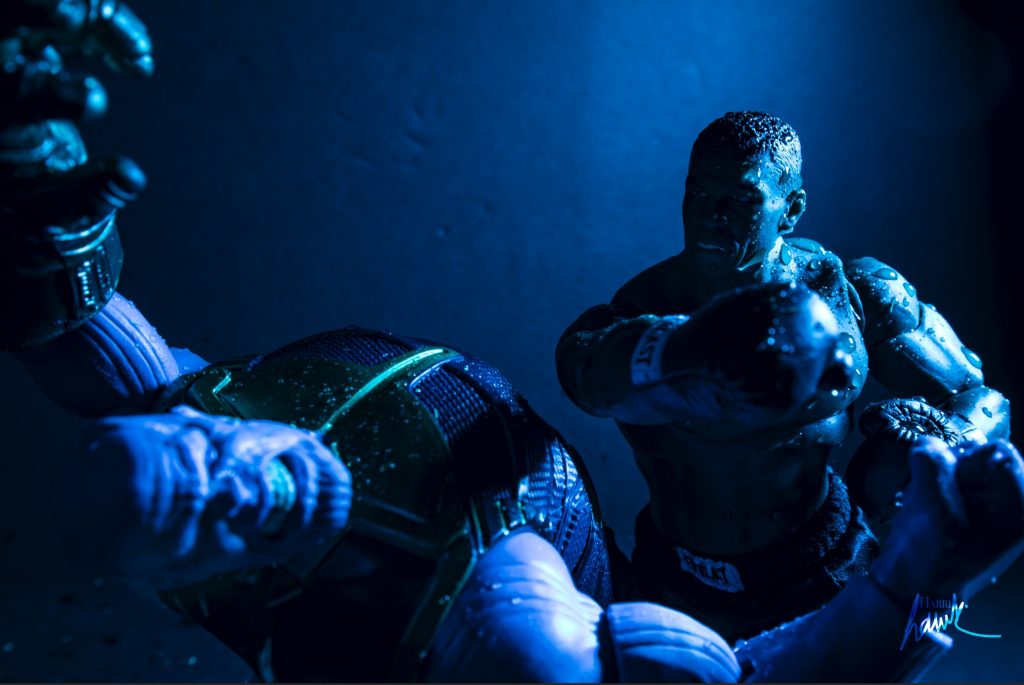
Shot three is for a powerfully defined highlight on Mike's right shoulder. As you can see from the rest of the shots, I moved the placement of the light around a lot to light different areas and elements of the figures. All in all, I must have taken at least 10-20 different snaps.
I also added a blue filter over my Lumecube for a couple of shots to give a cold, menacing look and feel.


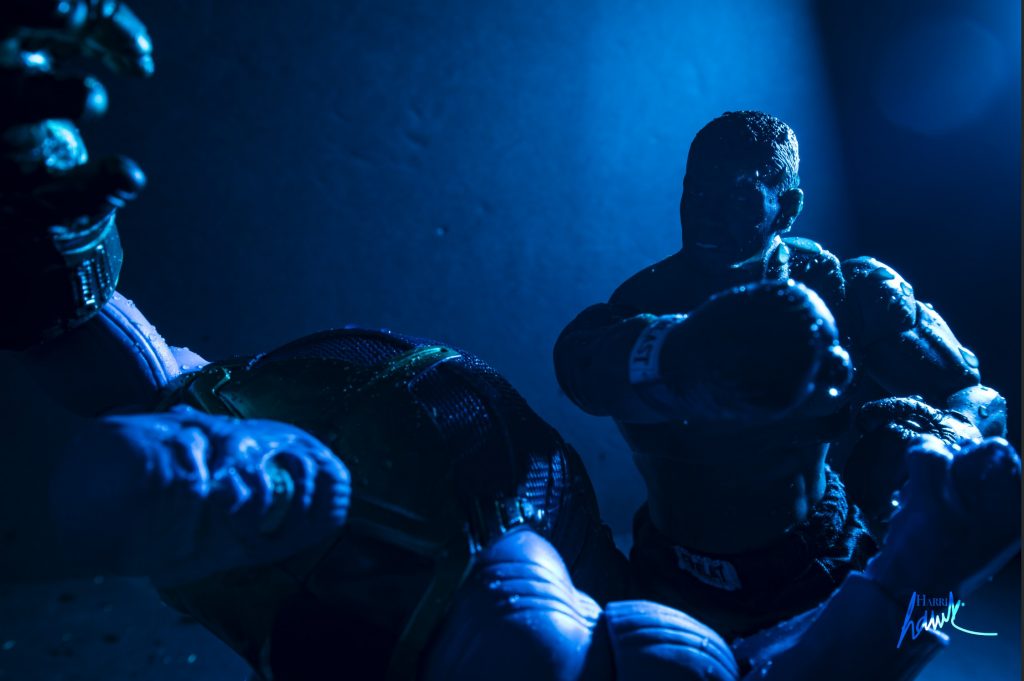
With so many shots taken, I can then view them and mark the ones that I think have fantastic light quality on certain parts of the image, i.e., the highlights on the side of the face, or the soft glow on the boxing glove.
Let the fun begin...
Once I have done my selects, I open then up as layers in photoshop. This is where the fun begins. Now I like to work non destructively in photoshop, which basically means I want to keep the integrity of the images in tack. I don't want to erase a section and lose that area, so I use layer masks. This is a way to edit a layer, but keep all the original information attached and not lose or destroy any part of it.
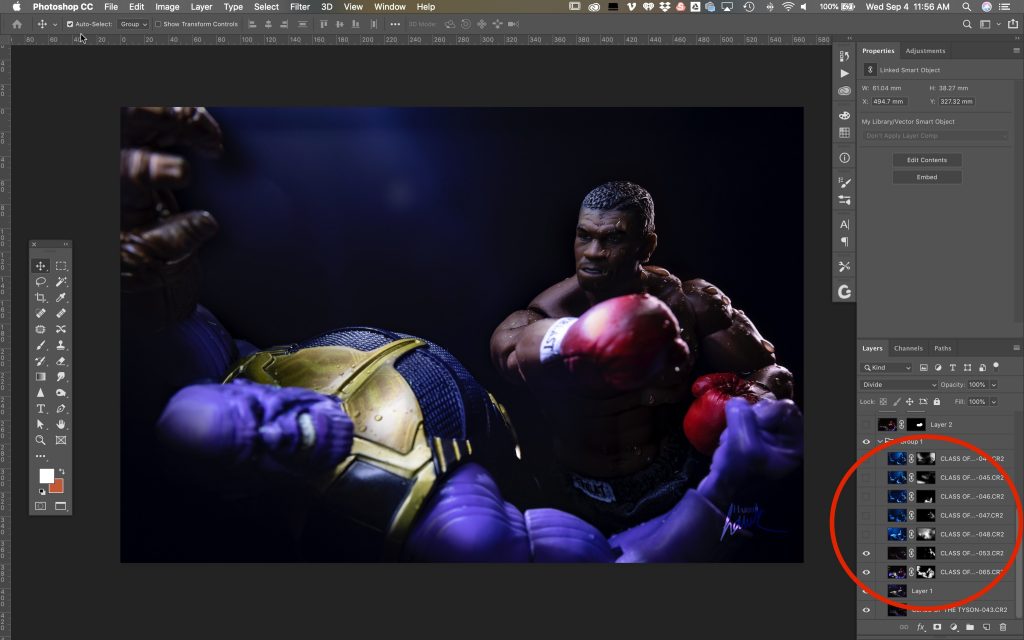
So starting at the bottom, I turn on only the bottom layer (this is usually the most evenly light image). I then turn the layer above the bottom one on and off a few times (by on and off, I mean click on the eye icon in the layers panel to make it visible)
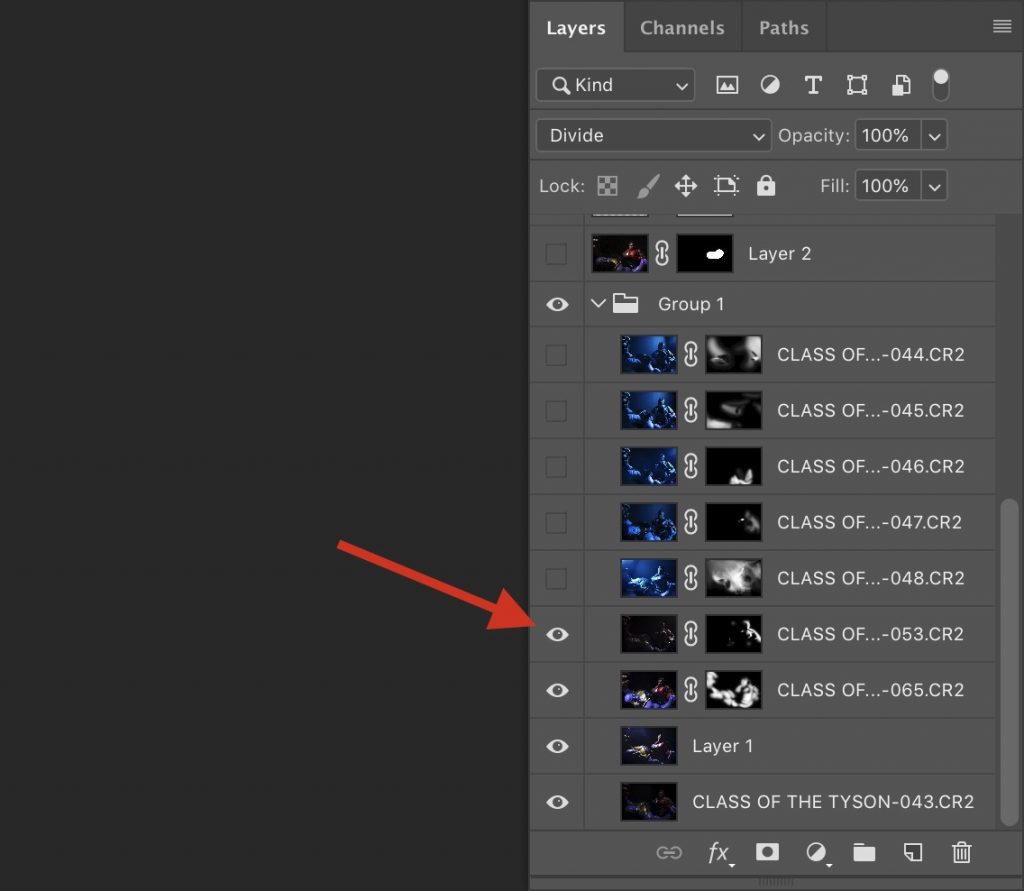
to see which area I want to highlight against the layer below. After applying the layer mask on the above layer, you can then erase or paint back the area that you want.
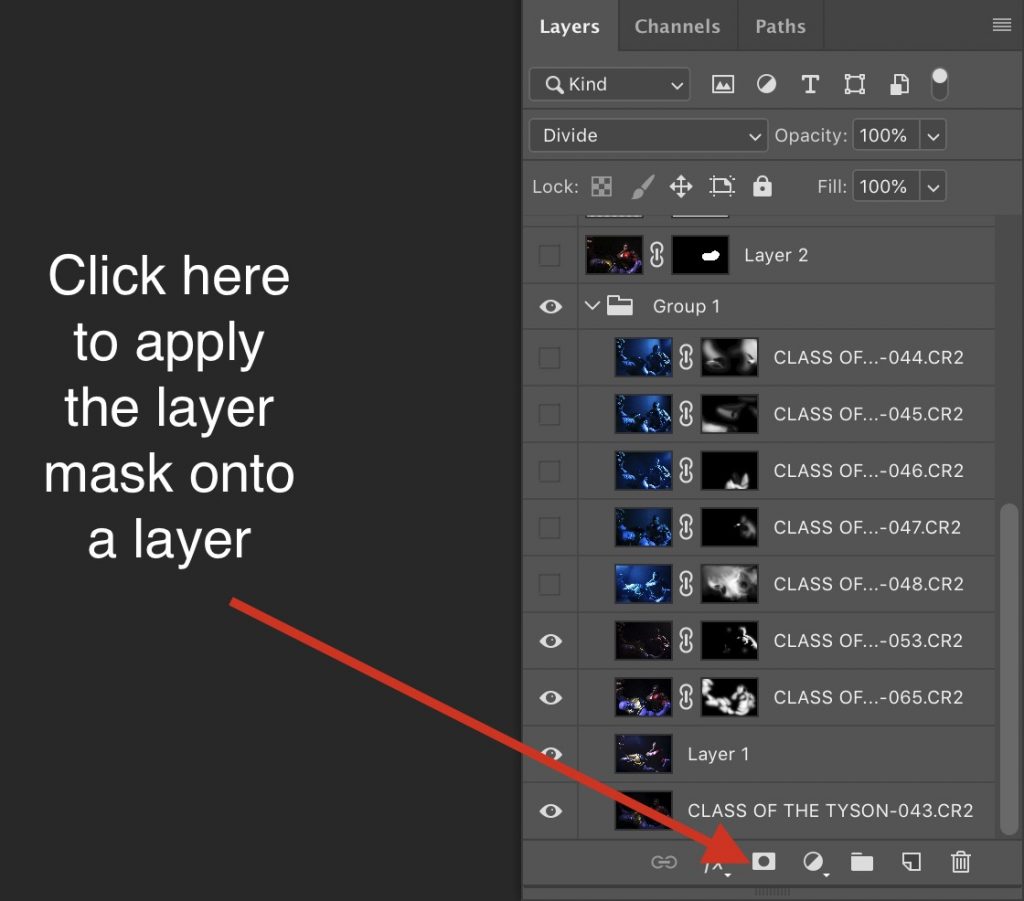
I tend to invert the mask so that the layer is covered and then paint back the area I want to show.
I continue this process with all the remaining layers until I have a finished image that is beautifully light from multiple angles and layers. Hence the layered light title. It's a way to achieve a very high-end shot with spectacular lighting that looks like you have various light sources. But in fact, you have just one light.
The video above shows the layering process in photoshop, I hope this explains the method more.
If you have any questions or need some help, I'd be happy to help out
Until then, Keep snapping.
Gibbo
AKA: @harri.hawk


Comments
Post a Comment